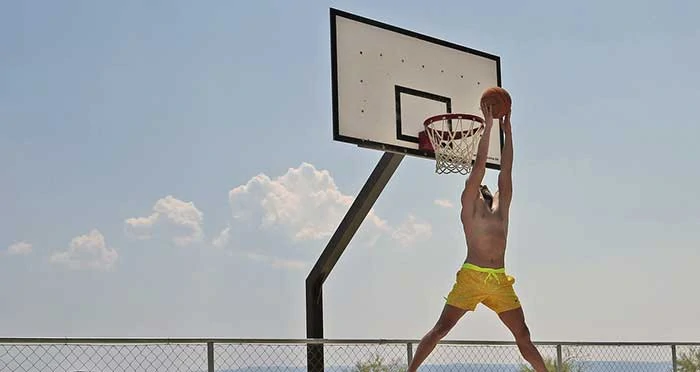
The installation process for a in ground basketball hoop can vary depending on specific models. Today, we are going to talk about the model that has its foundation in the ground. There are models that can be stabilized with heavy metal plates or concrete blocks, but over the years our experience is telling us that they are not a good solution. Hoops that have its backing in the ground are the best and the safest.
How does installation process work?
The first phases are planning and preparation. You need to find a perfect location where the ground is flat. Then, the thing that you need to consider also is space needed for the half court. Size of the NBA court is 94×60 feet and in Europe its 91.9×49.2. NBA three-point line is 23.75 feet away from the baseline, and in Europe, this distance is 22 feet.

When you determine the location, it is important to call the 811 number, to get the information what is in the ground. This number is used in USA and Cannada and the operator will tell you if there is a water pipe or any other installation on your location.
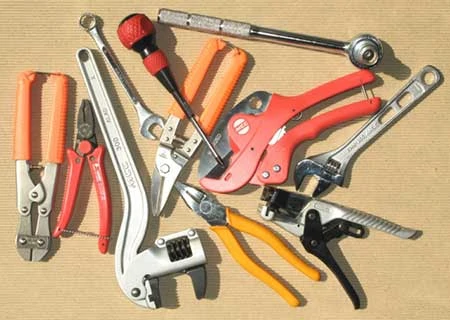
What Tools & materials that you needed

- Post hole digger
- Shovel
- Wheelbarrow
- Concrete
- Garden Hose
- 2″x4″ lumber
- 2 large crescent wrenches
- 17mm wrench
- Wooden Stakes
- Hammer and nails
- Trowel
- Level
- Tape Measure
- 18mm wrench
In ground basketball hoop installation cost
On average, the installation will cost around $450.00 for an in-ground system if you have it professionally installed. This includes two trips, labor, and materials. Roof and wall mounted basketball systems will cost less because there are no material costs and assembly can be done in only one trip (no concrete).
19 steps to complete in-ground hoop installation process
There are a few takeaway tips that can help you improve the experience of installing in ground basketball hoops.
Here are these tips:
1- Make forming boards for your hole (made by the specifics that were given in the instruction.
All you need are 4 boards and some neals. Form a square with the wooden piece and fixate it with the nails. Follow the measures from the instructions because these will be the framework for your concrete foundation. If you go smaller then predicted, your hoop installation will lack in stability.
2- Dig Hole around the boards as deep as the instructions predicted. If you do not make it deep enough, the metal bars that form the anchor will not fit and you will have shorter anchoring that will lack stability.
3- Check the if the formed walls are leveled – make adjustments if needed. If the walls are not flat, gaps will form between the concrete and hole walls, and this can undermine the foundations of your hoop construction.
4- Mix the concrete in the wheelbarrow, follow the instructions, make sure that you have enough bags (if not, the anchoring for your hoop will not be stable).
5- When the whole is half full you need to insert the steel bars. They need to be aligned. as in the instructions.
Of the bars are not aligned then there will be a disparity between them and the attachment holes on the basis of the hoop construction. If you do not fill the hole then you will have the problems with the height of the hoop that cant be fixed.
6- Fill the hole until its full and leveled with the top of the forms.
7- Use a trowel tool to level the top of the concrete. If the top of the concrete is not flat, or near flat, the hoop will lean on one side. There is an option to level the top with the fixation screws, but its range is limited.
8- Place assembled anchor in the concrete (follow the instruction). The bars need to go all the way down in the concrete, the deeper the better. It is best if they can reach near the bottom of the hole.
While doing this, you will find that the concrete is thick and that the bars do not just glide through it, some lateral movement will be needed in order to successfully sink the bars into it.
9- Check if the anchor is leveled with the concrete. Leveling the anchoring with the concrete is crucial for good construction support. If there is a gap between those two, the metal will be bent in some places and the whole hoop will lean on one side and eventually will fall.
10- Allow concrete to cure at least 72 hours. This is the time needed if the weather is warm. If it is cold outside, give it another day to dry properly.
11- Level four nuts on top of the anchor.
Tighten them in order to gain maximum stability for your hoop. All four nuts have to tighten simultaneously, one by one, to gain the best admission possible.
12- Install the main pole (follow the instructions).
If you have done everything right until now, this part is going to be easy. The four fixation holes on the pole will match four anchor screws on the anchor.
13- Fix the main pole on to anchor nuts. Tighten them simultaneously for best stability. If you tighten the nuts one by one, the first one that tightens will lower that part of the base of the main pole and the other parts will rise from the anchoring. Tightening those parts can bend metal and ruin the stability.
14- Attach the gusset padding around the main pole.
This padding will protect players from colliding with the construction.
15- Install the lower extension arm by fixing it to the main pole following the instructions.
Everything that was done until this part could be done by just one man. From now on, it is best that you have some help. Installing the lower extension arm is a mear thing of fitting the parts together by following instructions and fixation them with nuts. Do not tighten the screws immediately because even if the whole construction is done there are some adjustments to be done along the way.
16- Install the height actuator following the instructions.
This part is the most tricky to do because it needs a vast of height adjustment along the way just for this part to fit the whole. It is wise to lose the regulator all the way and attach this part while the upper part of the construction is near the ground. This way you will get the job done easily and you will avoid the injuries.
17- Install the upper extension arm following the instructions.
An upper extension arm is a part that is on the biggest altitude on the whole construction. This part should be fixed with the whole construction lowered to the ground.

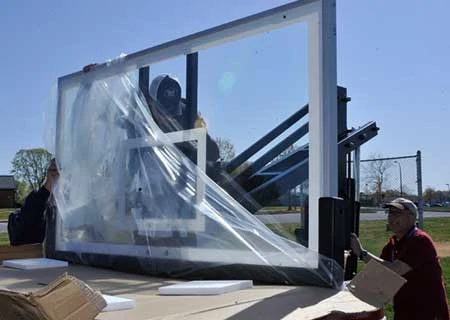
18- Install the backboard. Be aware that for this part you will need at least 4 competent and able-bodied adult males because this is a very heavy component. When you end the fiction it is time to tighten all the scruws. It is wise to double check all the parts just for safety. The construction is still at its lowest points.
20- Install the rim and the net
This part is very easy. Rims are preassembled at the factory so all you need to do is to fix it with four screws to the backboard. Know more details about basketball net check this post.
Does any professional or expert need?
If you know how to follow any instructions, and if you know how to use simple tools, there really is no need for you to hire a professional. All you need is good preparation, some help and everything will go well. If you are stuck in a process, or you don’t have anybody to help you, then it is better to call a professional.
From our experience, you can turn to Amazon Home Services, ask the operator for the servicer, make the appointment and you will get your hoop assembled in no time.
Warning
Assembling the hoop construction considered lifting and managing heavy objects while working with sharp and metal tools. Proceed with caution at any times to avoid serious injuries.
Frequently asked questions
Can’t I just install it myself?
We do not recommend that you assemble the hoop installations all by yourself. It is risky and dangerous because the constructs are made of heavy metals and some of them need to be lifted up on hights. One misstep or loss of concentration can lead to serious injuries.
Can my goal be installed during the winter?
It can but we do not recommend it. First, during the winter the ground is frozen and it is really hard to dig a hole. Then, the concrete cant cunt well, and the procedure takes time. And we all know that if the metal is cold or wet, it is hard to manipulate with it.
How long will the entire process take?
If everything goes as planned, you can install the hoop in 4 days. The majority time is needed for the concrete to dry, and that process takes at least 72 hours. If the water is colder, it might take even longer.
What depth will the hole be dug to?
There are so many different hoop constructions and each has its own anchoring systems. Carefully study the manual before you do anything. In every instruction book, there is a piece of information on how deep the hole should be.
Final Word
Installing your own hoop construction is a serious project that requires a vast amount of preparation, good planning, some skills with the tools and few extra hands to help you. Working on the projects like this can be dangerous but because of the teamwork, goodwill and if the results are great, it sure will give you a sense of pride and joy. If anything goes wrong you can always give a call to professionals who will install the construction in no time.
But if you manage to do it on your own, you should be really proud of yourself. How many people can say that they have made a basketball court all by themselves?
Nevertheless, sniff around a bit on Stepien Rules and stay tuned, we’ve got good things coming.
